Welcome to Jeannie’s Kitchen Garden at Fat Weka Farm. This is the perfect place to find inspiration, tips, and all the joy that comes with growing and cooking your own food.
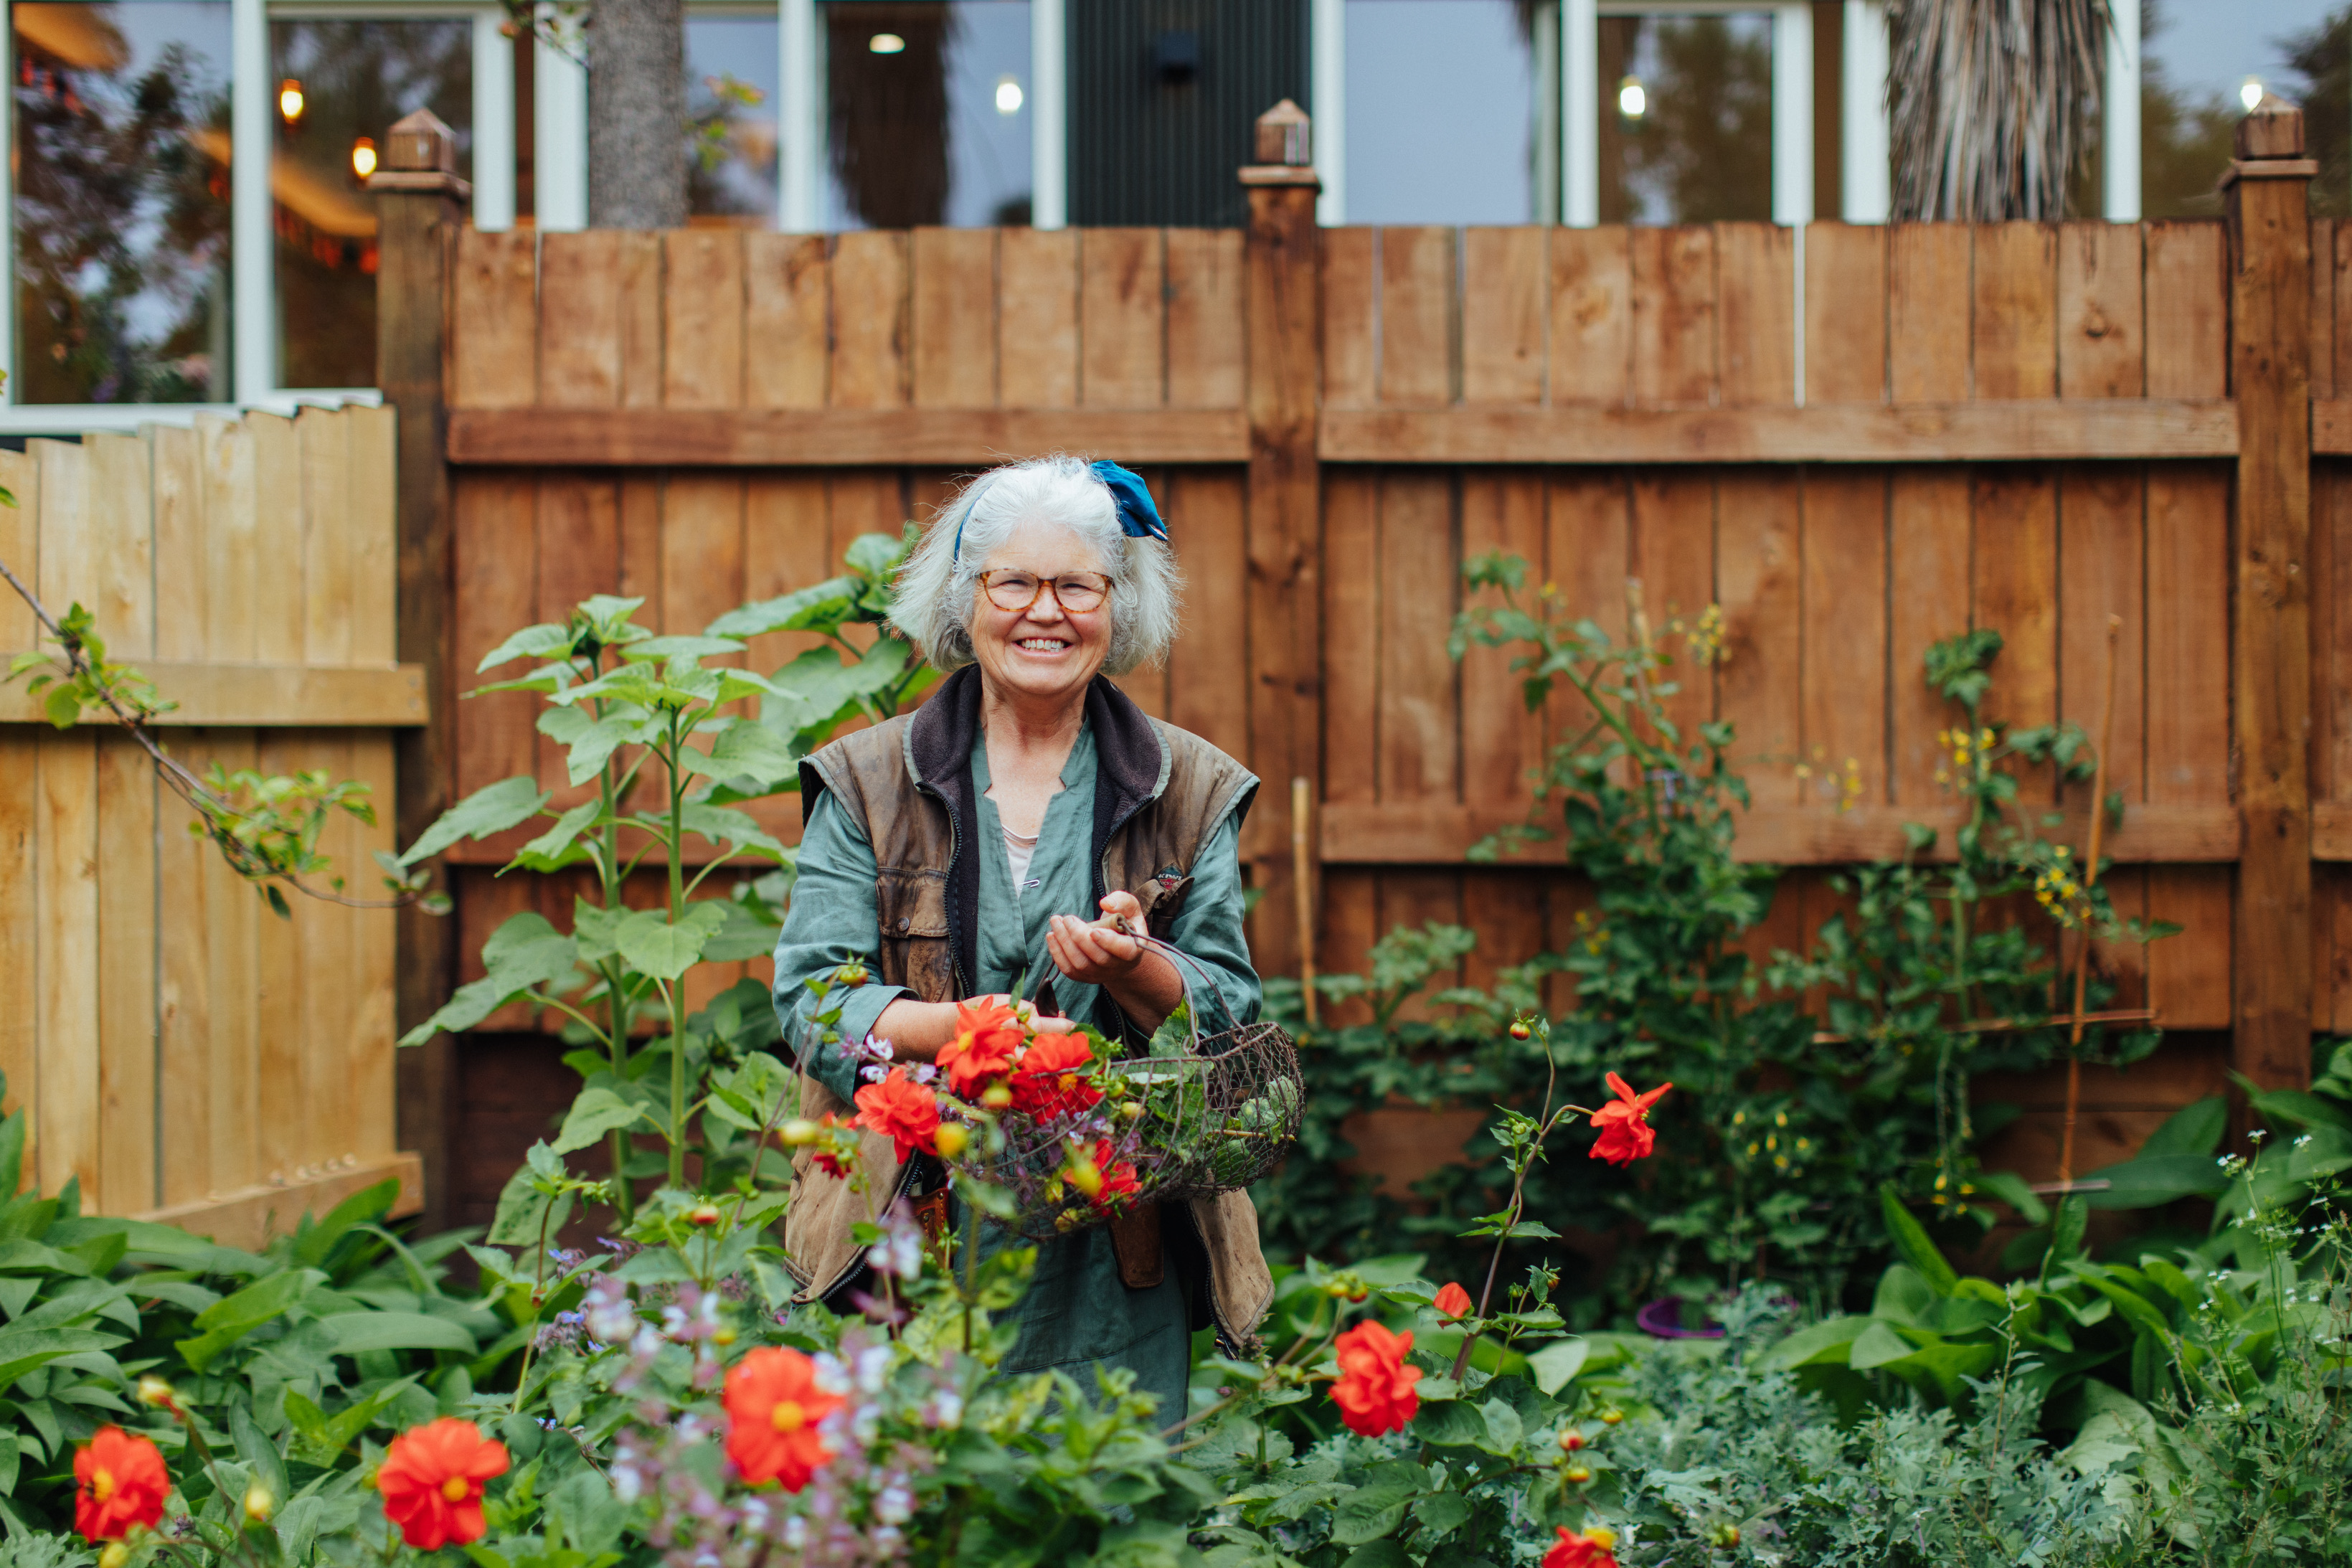
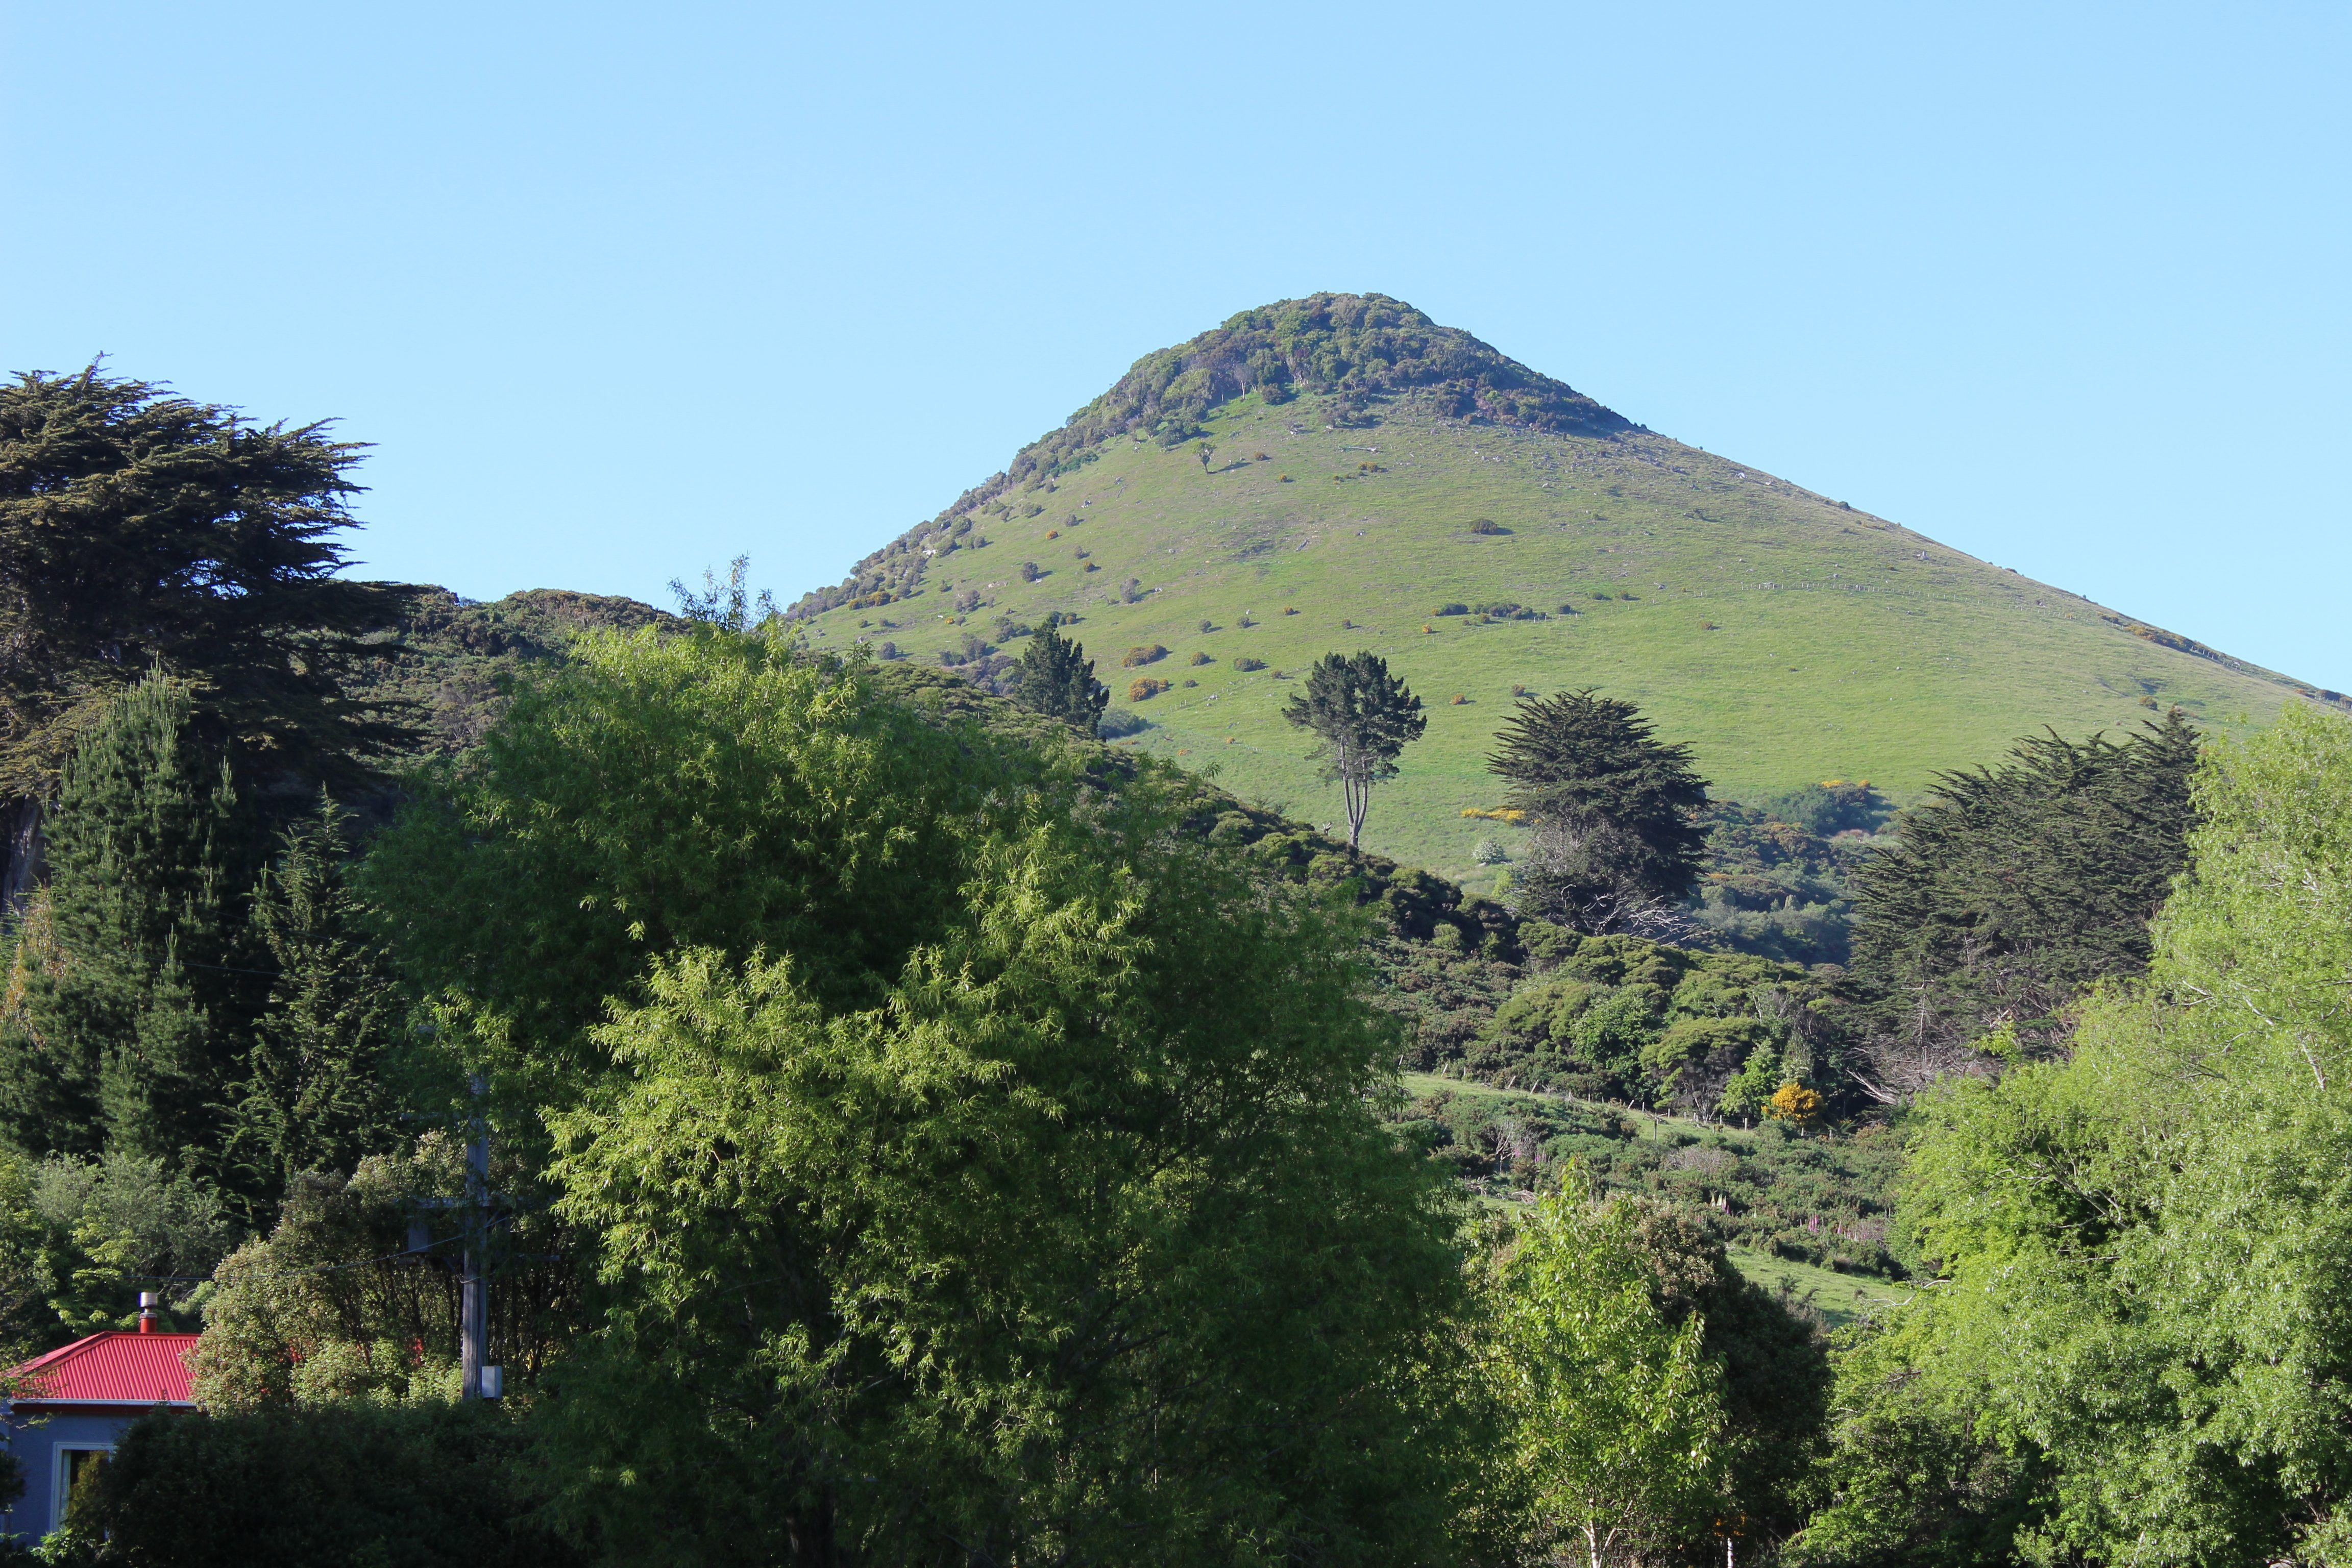
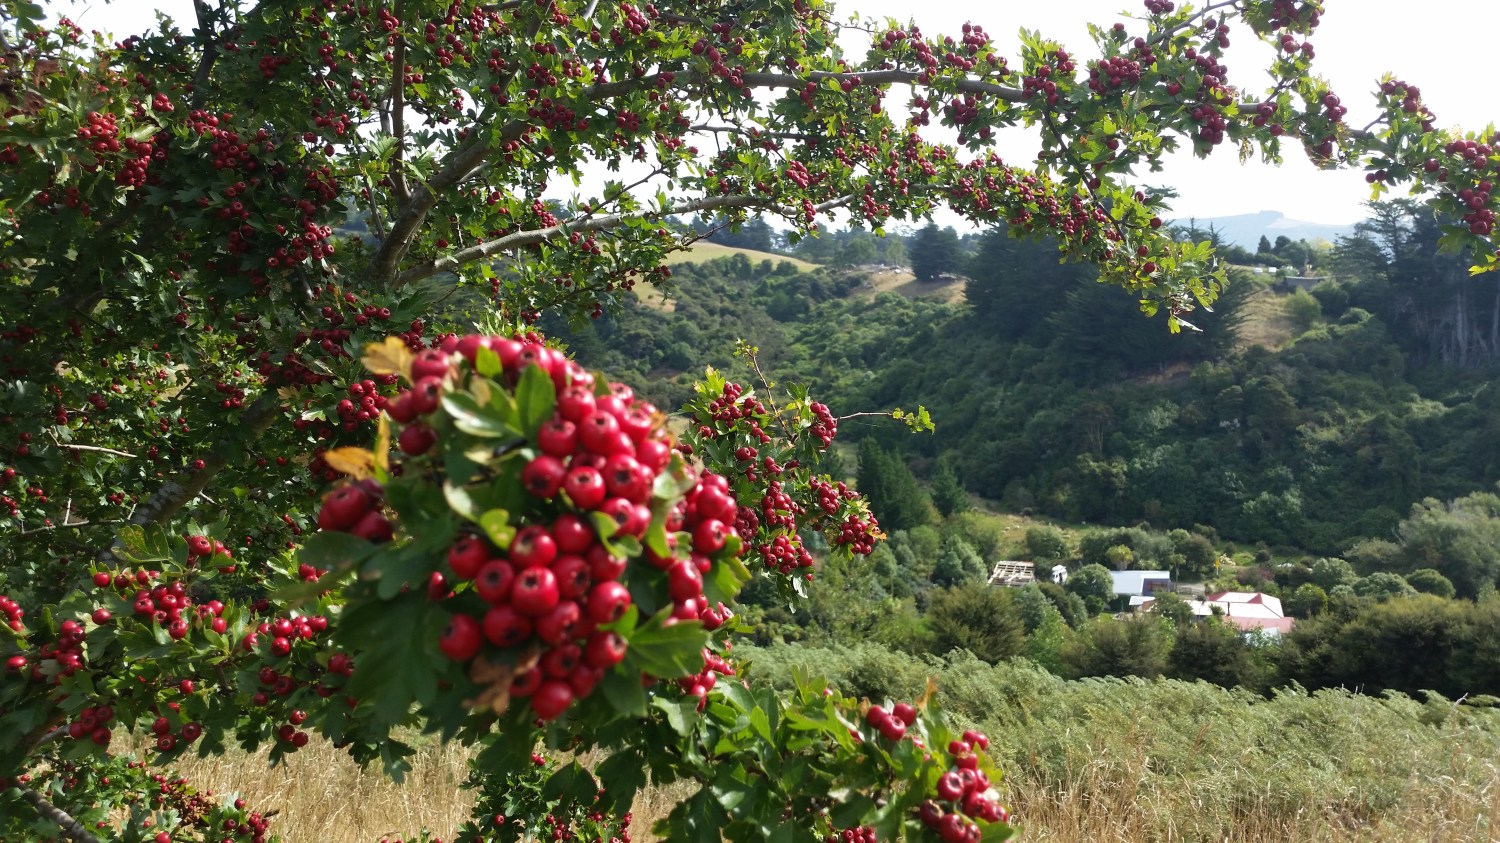
Based on the Otago Peninsula (Dunedin) our 50 acre property is nessled at the foot of Hereweka maunga. Our family is passionate about regenerative planting, pest eradication, seasonal foraging and sustainable gardening.
Latest Blog Posts


Something went wrong. Please refresh the page and/or try again.
